Word Wrapping
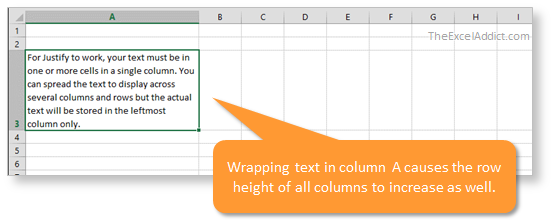
| Because Excel is used for such a wide variety of tasks, you may occasionally find yourself typing paragraphs of text into your worksheets. Since Excel allows word wrapping in a cell, you can easily type a paragraph or more into a single cell. However, there may be times when word wrapping is not practical because the increased row height also affects adjacent cells.
One way to avoid this is to type your paragraph into several cells going down the column. If you have ever done this, no doubt, you have also had to make changes to your text or re-adjust the column width and then found yourself cutting and pasting text from one row to the next to make it fit on each line. Another example would be if you copy some text from a web page or elsewhere and paste it into your worksheet. You may find that all of the text is pasted into one cell and extends to the right off the screen but you want to spread the text over several rows and columns. Well, you’ll be happy to know that there is a little-known option, practically hidden in Excel, that can be a godsend whenever you find yourself trying to redistribute text over several rows. It’s called Justify. Now let’s see what Justify does… For Justify to work, your text must be in one or more cells in a single column. You can spread the text to display across several columns and rows but the actual text will be stored in the leftmost column only. You can also include blank cells (i.e. paragraph breaks) in your text. Believe me, using Excel’s Justify command is really useful and really easy! Please follow along with these examples and see for yourself. Distributing Text Down A Single Column 1) Open a new workbook; 2) Type a couple of sentences in cell A3 (a single cell) or copy some text from a web page and paste (right-click the cell and select Paste Special, Text, OK) it into cell A3. Go ahead. Try it now. When you Paste Special, Text, the text should be in one cell but will overflow into the blank columns to the right; 3) Adjust the width of column A to 50; 4) Now, highlight cells A3:A10;
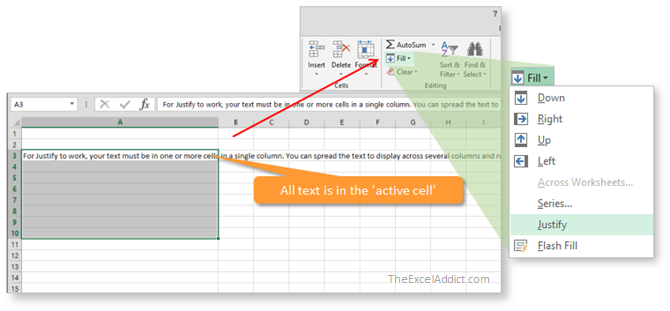
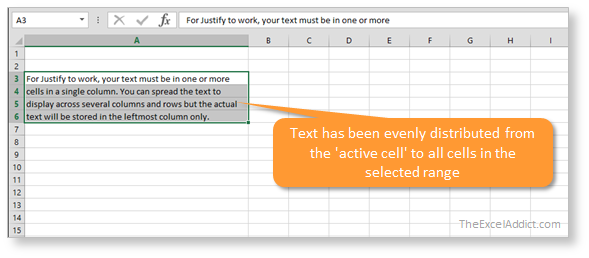
5) On the Home tab, in the Editing group, click the Fill command (the small button with the downward pointing arrow) and select Justify. All of the text from the ‘active cell’ gets evenly distributed down column A;
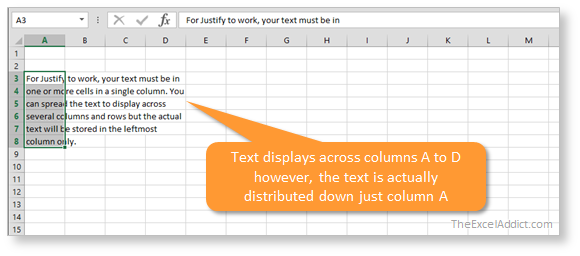
To see that work again, change the width of column A (wider or narrower) and repeat step 5. Isn’t that cool? Distributing Text Across Multiple Columns and Rows As I said before, the text must all be in one column. But rather than adjusting the column width as in the example above and fitting the text into one column, instead you can have the text appear to be distributed across several columns. Try this. 1) Resize column A to it’s original width 8.43; 2) Highlight cells A3:D12; 3) On the Home tab, in the Editing group, click the Fill tool and select Justify. Notice that, although the text is still contained only in the cells in column A, it now appears to be distributed across the columns you originally selected.
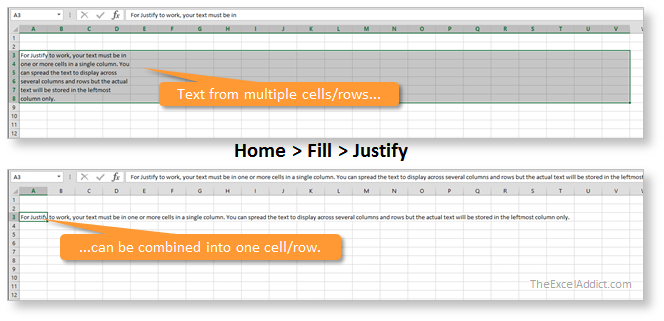
Now, if you need to edit the text in cell A3 but still want to keep it displayed within columns A to D, it’s just a simple matter re-selecting cells A3:D12 and redistributing using the Justify command. This sure beats all that cutting and pasting for each row. Combining Text from Multiple Rows into One Row 1) Select cells A3:V8; 2) On the Home tab, in the Editing group, click the Fill tool and select Justify. The text from the cells in column A is now redistributed to fit within the new range you have selected. And since you selected more columns, the text fits on fewer rows. If some of the text gets truncated, click Undo (CTRL+Z) and include fewer columns in your distribution range.
A few things to keep in mind about using Excel’s Justify command
If the range you select isn’t large enough to accommodate the text when justified, you will get a warning message allowing you to abort if necessary, otherwise it may overwrite data in the cells below. |


